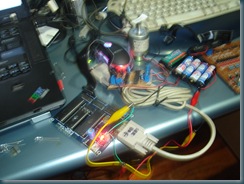
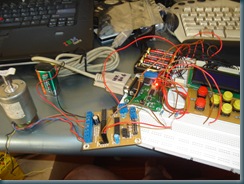
After reading Dr. Bruce www.leafproject.org and playing along with the LISP... it's very inspiring... I decide to make my own leaf robot. Excuse me for the bad english in this site, but i will try to make this in 2 languages. English and Indonesian. This robotic thing is far from my expertice but i really want to build a robot. So this is my shared experience.
So many thought and dreams so .. First one.. my short term GOALS by priority.
- I would like to have a mobile workstation for my laptop, i usually change place while working.. living room, backyard.. etc (still in my home)
- Making the robot available to Indonesian language is better.
- I don't watch TV so much but I would like to have recent news from selected RSS internet feed
- Communicating with people.. i mean telephony system in my robot.. i can perform calls from my laptop and vice versa.
- I want to check email.. and someone read it for me.
- Browsing the internet by voice or virtual touch (without mouse?)
- Entertaing robot..
- I have music clips or movie clips that i like to see many times. (building database and a navigation menu for search)
- I shared my laptop with my wife, and some other people.. so i cannot close the laptop for only one software. maybe other people can use the system too..
- Video capture
- I love music and love playing drums.. i want to have a recording station while jamming with my friends.
- Chatting with the robot would be nice
- Should be relatively cheap.. =)
- I like to have a menu system for my robot
- The robot should have a brain for navigating my house.
- The robot can recognize face and objects..
- Home controlled by robot.. this is good
- Robot Emotions? Leaf have that
- The robot can take or bring me something... (i think it's very hard)
- This one is really deep.. i want to ride my robot. transportation in my neigborhood maybe?? (last priority :) )
First step.. the body construction.
my first robot was the BoeBot from Parallax that's where i understand a little bit about robot.. so i know a little bit about differential drive.. base on that, i sketch a new frame for my little boebot.
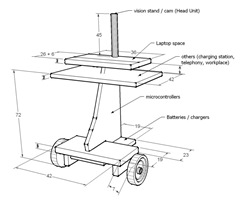
like a table with wheels right?.. i think this is the basic need for my robot.. i hope i can improve the design next time. but this should cover my need right now.
Finding the motors.. after browsing in the internet and real shop in my country.. i cannot get a decent motor to use for my robot without spending too much for this experiment.. so i went to a flea market.. and found a couple DC motors for the Power Window in cars (used). i can get them for approx $15 for two motors. (Rp. 150.000)
and the wheels i spend $9 (two wheels 20 cm and one smaller one)
for connecting the wheels to the motor i buy a matching plumbing bolt and then i weld them for $5. This is the final result.
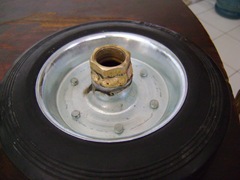
and this is the motors..and the base construction
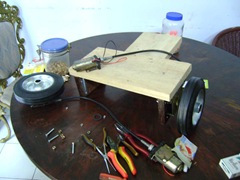
putting together is like this.
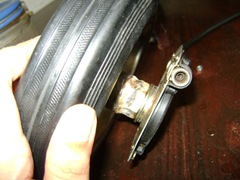
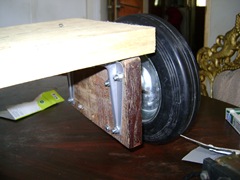
finally mounting the wheels on the base. using some L shaped bracket.
I take all the woods from my used kitchen set.. i think this is the fastest way to build a construction and very flexible..
maybe i upgrade to aluminium frame next time .. or fiberglass. Now.. just wood.
i pick this H-bridge, apparently this is the only model i can find in my country.. it's expensive for this experiment but it was worthed, i buy 2 of this. $27 for each (Rp. 270.000) it's a 30Amp H-bridge.. i think i can still use this when upgrading my motors
First run test..
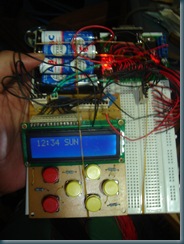
I have 2 basic stamp board (one original and the other one is indonesian version of basic stamp) and one DT-51 Minimum System v.3.3 board, this is from my previous learning the basic of robotics.. i decide to put them all in my robots. I have also eb500 (a bluetooth module), The basic stamp is easy for prototyping so i decide to put one basic stamp with eb500 as a master controlling other microcontroller.
I learn connecting them by reading this.
ok.. then i build the rest of the frame.. it's like this.
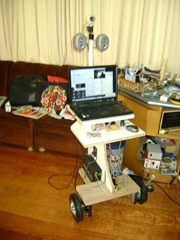

i add speakers and webcam on the top of the pole. using hot glue gun.. i think it will stick.
i use the old servo from boebot for the webcam for the pan and tilt. again, using L shaped bracked with the hot glue gun.. i put them together like this.
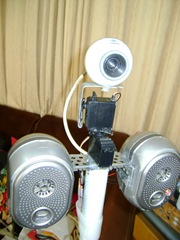
covered with some cutted socks.. it looks more funky.. =)
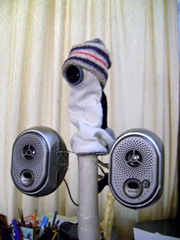
That's all for now, next time i will write about the software building for this project.
